Suzuki Air Filter Replacement – Keep Your Engine Clean & Protected in 2025
Your Suzuki’s engine is like its heart—and just like any heart, it thrives on clean air. The air filter plays a crucial role in your vehicle’s overall performance and longevity by ensuring that only clean, particle-free air reaches the engine. Whether you’re navigating tight corners in a Suzuki Swift through bustling city streets or conquering rugged mountain trails in a Suzuki Vitara, your air filter replacement is your engine’s first line of defense against the elements.
Dust, pollen, road debris, insects, and even moisture in the air can be harmful to your engine. A properly maintained air filter blocks these contaminants from entering the combustion chamber, preventing internal wear and costly repairs.
Why Air Filters Matter
Many drivers overlook the humble air filter, but its impact is massive. Here’s why it should never be ignored:
✅ Ensure Optimal Air-Fuel Mixture
Your engine needs a precise mix of air and fuel to ignite properly and generate power. A clean air filter ensures optimal airflow, preventing the engine from running “rich” (too much fuel) or “lean” (too much air), both of which can harm performance.
✅ Improve Engine Performance
Clean air leads to more efficient combustion, which translates to better throttle response, more power during acceleration, and overall smoother engine operation.
✅ Enhance Fuel Efficiency
When your engine breathes easier, it burns fuel more efficiently. Studies have shown that replacing a clogged filter can boost your car’s fuel economy by up to 10%—that’s extra mileage in every tank.
✅ Protect Internal Components
Dust particles might seem tiny, but over time, they can cause abrasion and wear on critical engine parts like pistons and cylinders. A clean air filter prevents contaminants from slipping through and causing long-term engine damage.
How Air Filters Work
Think of your air filter as your engine’s air purification system.
- Typically made of pleated paper, cotton gauze, or foam, the filter sits in a housing unit near the engine intake.
- As outside air enters your vehicle’s air intake, it passes through the filter, where particles are trapped and contained.
- Only purified air then continues into the combustion chamber, where it’s mixed with fuel and ignited to power your vehicle.
Some modern Suzuki models also feature engine air sensors that regulate fuel injection based on the airflow detected after the air passes through the filter—further emphasizing the importance of keeping it clean.
Signs That Your Suzuki Air Filter Needs Replacement
Your Suzuki often gives clear signs when something’s off under the hood. Here are the warning signals that your air filter may be past its prime:
1. Decreased Fuel Efficiency
Are you stopping at the pump more often? A blocked filter forces your engine to work harder, leading to higher fuel consumption.
2. Engine Misfires or Unusual Noises
Popping, coughing, or rough idling could mean your engine isn’t getting the right mix of air and fuel. This is a direct result of restricted airflow due to a dirty air filter.
3. Check Engine Light
Modern Suzuki vehicles come equipped with sensors that detect air pressure and flow. A clogged filter might trip these sensors, triggering the Check Engine light.
4. Reduced Acceleration
If your car feels sluggish or doesn’t respond as quickly when you hit the gas, it could be due to air starvation caused by a blocked filter.
5. Black Smoke from the Exhaust
An air filter that’s too dirty can cause the engine to run rich—burning more fuel than necessary. This often results in black soot or smoke from the exhaust pipe.
6. Visibly Dirty Air Filter
You don’t need to be a mechanic to tell if your filter is dirty. Remove it and hold it up to a light source. If you can’t see light coming through, it’s definitely time for a change.
Recommended Air Filter Replacement Intervals
Staying proactive with air filter changes is one of the best ways to extend your Suzuki’s life.
🔧 Mileage-Based Intervals
- Normal Driving Conditions: Every 12,000 to 15,000 miles (19,000 to 24,000 km).
- Severe or Dusty Conditions: Every 6,000 to 10,000 miles (9,500 to 16,000 km). This includes driving on gravel roads, through heavy traffic, or in dry climates.
📅 Time-Based Intervals
Even if you don’t hit the mileage limit, filters degrade over time. Replacing it once every 12 months is a good rule of thumb.
🚗 Model-Specific Guidelines
Different Suzuki models—such as the Swift, Baleno, Ignis, and Vitara—may have slightly varying recommendations. Always refer to your owner’s manual for accurate intervals and part numbers.
Tools and Materials Needed for Replacement
Planning to do it yourself? Great choice—it’s easy, affordable, and requires minimal tools.
🛠️ Tools Required
- Flat-head or Phillips screwdriver – Depending on your vehicle’s air filter housing.
- Microfiber cloth – For cleaning around the housing.
- Gloves (optional) – To keep your hands clean.
- Flashlight – Helps if the housing is in a dimly lit engine bay.
📦 Materials
- Air filter Replacement – Choose OEM (Original Equipment Manufacturer) for guaranteed fit, or a high-quality aftermarket filter from brands like Bosch, Mann, or K&N.
- Owner’s manual – To identify the filter’s location and ensure correct installation.
Step-by-Step Guide: Replacing a Suzuki Air Filter
Replacing your Suzuki’s air filter is a simple but powerful form of DIY maintenance that can improve your car’s performance and fuel efficiency almost instantly. The entire process takes about 10–15 minutes, even for beginners.
Here’s a more detailed walkthrough to help you do it confidently:
Step 1: Locate the Air Filter Housing
- Pop the Hood: First, ensure your vehicle is parked on a level surface, the engine is off, and the parking brake is engaged. Open the hood using the latch inside your car and secure it with the hood prop if necessary.
- Find the Air Filter Box: Look for a black plastic box—usually rectangular or slightly rounded—situated near the front or side of the engine bay. It’s often attached to the air intake duct or tubing and labeled “Air Filter” or “Engine Air Intake.”
- Check for Fasteners: Depending on your Suzuki model, the housing may be held in place with metal clips, screws, or bolts. Identify the correct tool needed (usually a Phillips screwdriver or a socket wrench).
🔧 Pro Tip: Take a quick photo before disassembling to remember how things go back together.
Step 2: Remove the Air Filter Cover
- Undo Clips or Screws: Gently unfasten the air filter housing. If it’s secured with clips, press and lift them. If screws or bolts are used, unscrew them carefully without dropping them into the engine bay.
- Lift the Cover: Once loosened, lift the lid or top half of the housing. You may need to wiggle it slightly if it’s snug.
- Handle with Care: Avoid using excessive force—cracking or warping the housing can lead to air leaks and poor engine performance.
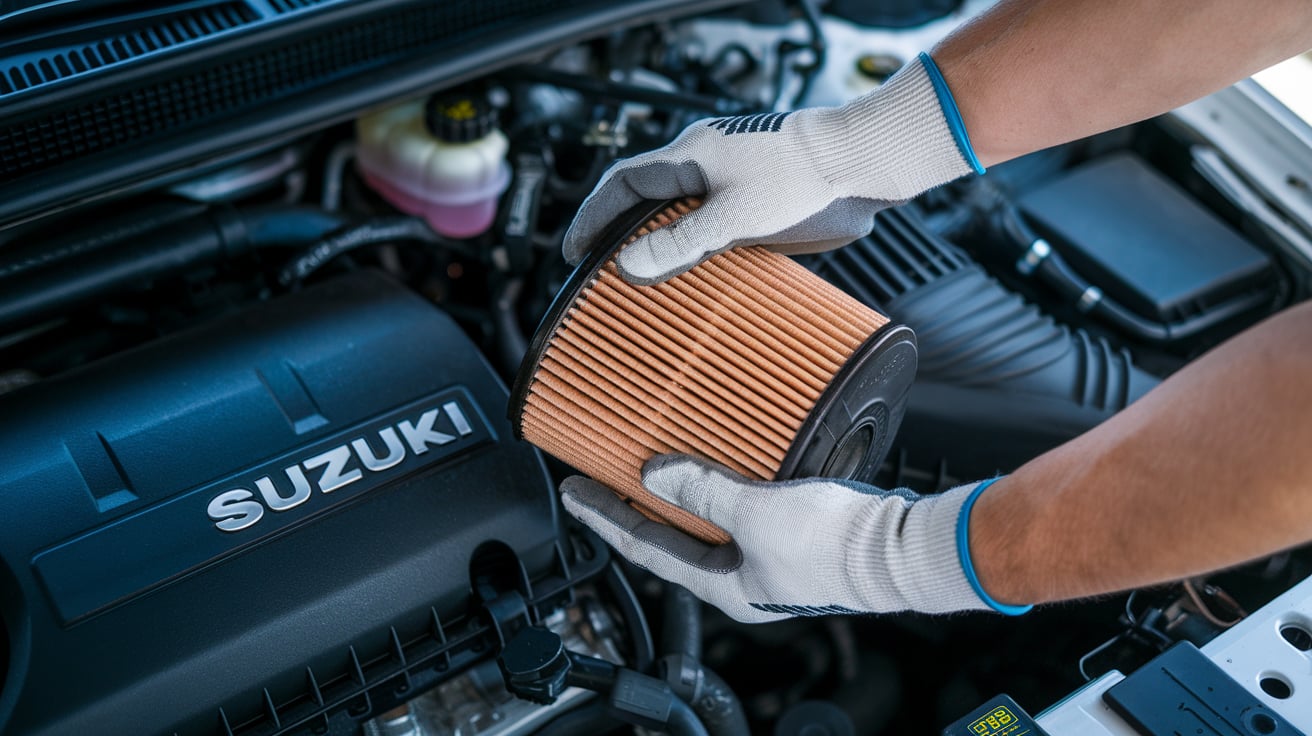
Step 3: Take Out the Old Air Filter
- Remove Gently: Carefully lift out the old filter. It should slide out without resistance. Check the direction and orientation—it’ll help when inserting the new one.
- Inspect for Debris: Examine the old filter. If it’s visibly gray, covered in dust, or clogged with debris like leaves or bugs, it’s definitely due for a replacement.
- Clean the Filter Housing: Use a clean microfiber cloth to wipe the inside of the airbox. Remove any loose particles or residue. If needed, use a handheld vacuum to clean hard-to-reach corners.
⚠️ Note: Never use water or liquid cleaners inside the airbox, as they could damage sensitive sensors or cause rust.
Step 4: Insert the New Filter
- Match the New Filter: Before installing, ensure your new air filter matches the old one in shape, size, and orientation.
- Place It Securely: Slide the new filter into the same position, making sure it fits snugly and evenly within the housing. There should be no gaps or folds around the edges.
- Reassemble the Housing: Close the cover carefully. Re-clip or re-screw all fasteners securely, ensuring everything is tightly sealed.
🛠️ Tip: Double-check the filter alignment—an improperly installed filter can cause air leaks and reduce engine efficiency.
Step 5: Start the Engine and Test
- Turn On the Ignition: With everything reassembled, start the engine and let it idle for a minute.
- Observe the Idle: Listen for any unusual sounds such as hissing (indicating an air leak) or rough idling. If everything sounds normal, you’re good to go!
- Take a Short Drive: Go for a quick spin around the block. You may notice smoother acceleration, improved throttle response, or even quieter engine operation.
✅ Mission Accomplished: You’ve just completed a vital maintenance task that helps prolong your engine’s life and boosts your Suzuki’s performance.
Environmental Impact of Air Filter Maintenance
Air filter replacement is not only good for your car—it’s good for the planet.
- Lower Carbon Footprint: Clean combustion means fewer pollutants.
- Reduced Fuel Waste: Efficient engines waste less fuel, leading to fewer greenhouse gas emissions.
- Eco-friendly Disposal: Used filters can be recycled at designated auto parts stores or local recycling centers.
Frequently Asked Questions (FAQs)
Conclusion: Don’t Neglect Your Air Filter—Your Suzuki Will Thank You
Replacing your Suzuki’s air filter is one of the easiest, cheapest, and most effective ways to keep your vehicle running in peak condition. Whether you’re clocking daily commutes or enjoying weekend road trips, clean airflow is essential for optimal engine health, performance, and fuel savings.
With a few basic tools and a bit of know-how, you can extend your Suzuki’s engine life, reduce emissions, and improve your driving experience. Make air filter replacement a part of your regular car maintenance checklist—your wallet and your engine will thank you.